

A luxury island succeeds only when its dimensions, utilities, cooking workflow and finishes are resolved before its appearance. By the end, you will be able to test whether your room suits an island, choose its role and size, specify safer construction details, and compare the likely cost and upkeep of different designs.
Key takeaways
- Tape the island footprint and test every open door, drawer and appliance.
- Assign the island one primary job before fixing its size or shape.
- Coordinate ventilation, lighting and electrical points before fabrication begins.
- Specify sealed joints, durable surfaces and accessible storage for lasting refinement.
Test the Room Before Choosing an Island Shape
A kitchen has enough room for a luxury island when the island footprint leaves usable clearance after every door, drawer and appliance is open. Tape the proposed island on the finished floor, including worktop overhangs, then walk the route from the refrigerator to the sink and cooktop with those obstructions in place.
Keep 42 inches (1,067 mm) between island and opposing cabinets for one cook. Use 48 inches (1,219 mm) where two people work back-to-back or appliance doors open into the same zone; 36 inches is a passage, not a productive work aisle.
Allow about 15 to 18 inches of knee space behind seating, then add the full depth of the stools and the pull-back space people need to sit down.
Island size and shape should follow the taped test, not the room’s visual centre. A straight rectangle suits a narrow room; an L-shape or curved end works only when it preserves the clear passage around its widest point.
| Option | Minimum planning check | Best use |
|---|---|---|
| Preparation island | 42-inch working aisle on each active side | Chopping and storage |
| Cooking island | 48 inches where doors face the cooktop | Range or cooktop work zone |
| Seating island | 15–18-inch overhang plus stool clearance | Informal dining |
| Accessible island | 30-by-48-inch clear floor space; surface no higher than 34 inches | Adaptable use |
In small spaces, reject the island if it forces sideways movement or blocks a dishwasher rack. Confirm floor penetrations, shut-off valves, drainage and electrical access before closing the base. A beautiful luxury island kitchen interior fails when service access requires dismantling it.
Choose the Island’s Job, Dimensions and Work Zones
Choose the island’s job from your busiest routine, not its appearance. A prep station suits frequent chopping and plating; a cooking centre suits pans and direct serving; a dining island prioritises seating and clear countertop. Combining functions works only when each activity retains a landing surface.
| Option | Best island role | Key planning choice |
|---|---|---|
| Preparation-only | Prep station with storage | Place the sink and waste pull-out nearby; keep the cooktop elsewhere |
| Cooking | Cooking centre and plating surface | Keep the cooktop near the sink and refrigerator, with heat-safe landing space |
| Dining and entertaining | Seating area with light prep | Keep appliances out of the seating run and preserve an unobstructed overhang |
Arrange the refrigerator, sink and cooktop as three connected work zones, with the refrigerator opening toward the main aisle and the sink between cold storage and cooking. Put the dishwasher immediately beside the sink in the washing zone, so its open door does not block the principal passage.
Use the storage wall for tall food storage, ovens and less frequently used equipment.
Size the island around clear movement, not cabinet dimensions. Allow at least 42 inches (1,067 mm) for one cook and 48 inches (1,219 mm) where two people work back-to-back or opposing doors open into the aisle. Test every refrigerator door, drawer, dishwasher rack and waste pull-out fully open; measure the remaining passage.
A single-level top usually gives the best prep and cleaning surface. Choose a raised bar only after testing sightlines, plating reach and the joint’s cleanability. For adaptable use, reserve a 30-by-48-inch clear approach and keep one work surface no higher than 34 inches. Have a structural review check stone weight, point loads and floor penetrations.
Resolve Appliances, Ventilation, Lighting and Electrical Safety
Set the island only after electrical, plumbing, ventilation and service routes are drawn together. A floor penetration may need to carry appliance circuits, water, drainage, gas, refrigeration lines, make-up air or fire-suppression piping, so leave isolation valves, cleanouts and disconnects reachable without removing finished cabinetry.
1. Confirm the cooktop and island cooktop ventilation as one package. Fix the hood location, exhaust route, grease-removal equipment, clearances and cleaning access before fabrication. NFPA 96 may apply to commercial cooking, while ASHRAE Standard 154 addresses capture, exhaust airflow, replacement air and cross-drafts. A ceiling fan or nearby door can defeat a powerful hood.
2. Obtain the appliance installation instructions and required clearances before adding a stainless surround. Do not use fabricated metal to reduce clearance to combustible construction unless a listed assembly or approved code basis permits it. Coordinate any automatic fire-extinguishing system with the hood and appliances.
3. Give every major appliance a service plan. Provide dedicated appliance circuits for the cooktop, dishwasher, waste equipment and refrigeration where the manufacturer or electrical code requires them. Place accessible shutoffs, junction boxes and disconnects outside sealed voids, then protect countertop outlets with the required GFCI or RCD protection.
4. Test the final island with doors, drawers, dishwasher racks and waste pull-outs fully open. Confirm the remaining clear passage, not the nominal cabinet-to-cabinet aisle. Position sink supply, drainage and cleanouts for maintenance, and coordinate lighting circuits so fixtures do not conflict with the hood, sprinklers or ventilation grilles.
Use sealed, cleanable junctions around the sink and dishwasher, and specify task lighting with protected wiring away from heat and water. Final drawings should identify every penetration, circuit, valve, access panel and equipment clearance before the base is closed.
Specify Materials and Fabrication Details That Earn a Luxury Finish
A luxury finish begins with a material decision tied to use, not appearance alone. Compare the surface, substrate, joints, maintenance routine and who owns installation defects before approving the shop drawing.
| Material | Construction and cost check | Maintenance and installation responsibility |
|---|---|---|
| Stainless steel | Type 304 suits most work surfaces; Type 316 costs more and earns its premium with salt, chloride or coastal exposure. Demand continuous welds, radiused corners and sealed penetrations. | No. 4 brushed finish disguises abrasion better than a mirror polish. Confirm the fabricator, not the stone installer, supports the stainless steel island and coordinates point loads. |
| Stone | Quartz offers consistent colour and low sealing effort; natural stone brings variation and may need sealing. Price the slab, edge profile, cut-outs, transport and structural support separately. | Obtain the care sheet and confirm who repairs chips, reinforces the cabinetry and sets the top. |
| Wood | Solid timber costs more than veneer but allows refinishing; moisture-sensitive joints and unsealed end grain signal weak fabrication. | Specify the finish, cleaning limits and replacement panels. The cabinet maker owns alignment; the installer owns levelling and wall anchorage. |
| Painted cabinetry | Compare catalysed lacquer, polyurethane or powder-coated panels by film thickness, edge treatment and colour-matching policy. | Painted surfaces show chips and heat damage. Confirm touch-up materials and whether the cabinet maker or installer handles adjustments. |
Ask for actual NSF/ANSI 2 construction evidence and NSF/ANSI 51 material or finish listing for commercial-use components; stainless steel alone proves neither. The Kitchen Studio can clarify which seams, supports and service penetrations it fabricates, so another contractor does not inherit an unpriced installation risk.
Bear in mind that decorative reveals become dirt traps when they cannot be reached for cleaning.
Related products
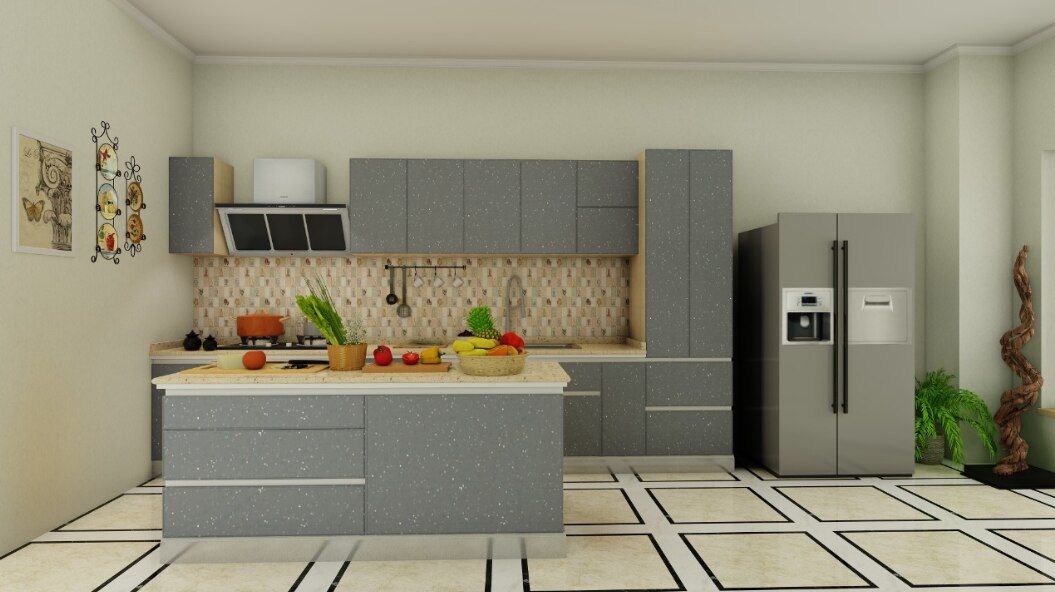 | Modern Stainless Steel Modular Kitchen Modern Stainless Steel Modular Kitchen The modern stainless steel modular kitchen is designed to combine contemporary aesthetics with superior durability and hygiene. View product → |
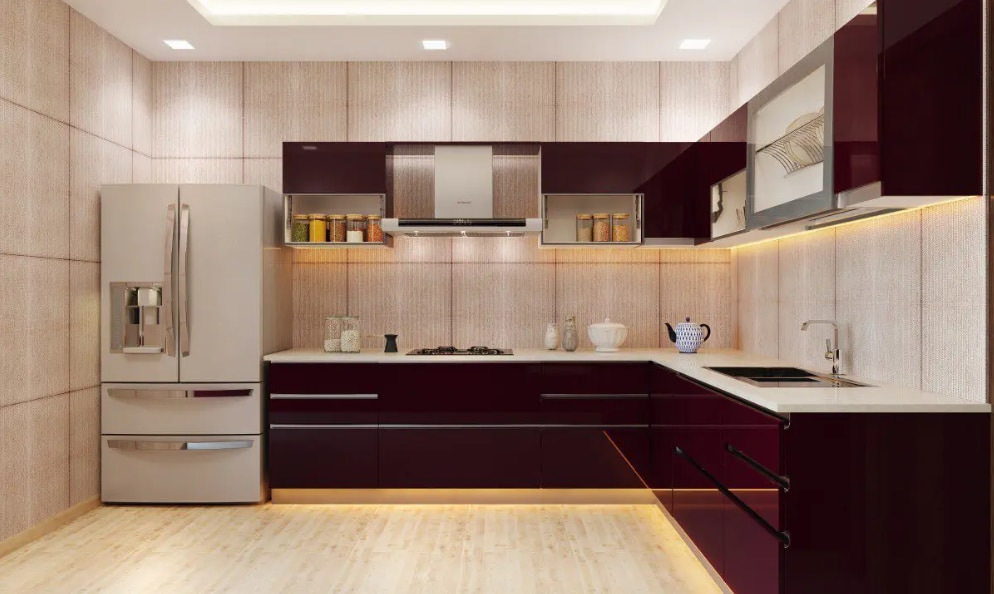 | Stainless Steel Kitchen The residential stainless steel modular kitchen is thoughtfully designed to meet the needs of contemporary homes. View product → |
Finish the Design with Storage, Lighting, Technology and Long-Term Flexibility
Reserve luxury kitchen storage for the way you actually work, not for empty cabinetry. Use full-extension drawers for pans, adjustable shelves for serving pieces, and a dedicated waste-sorting pull-out near preparation space. Add a shallow drawer for utensils rather than forcing small items into a deep cabinet.
- Keep frequently used items between knee and shoulder height.
- Specify removable drawer boxes, sealed interiors and continuous, wipeable joints.
- Leave a service panel behind appliances so repairs do not require dismantling the island.
Use layered lighting to make the island comfortable at every hour: shadow-free task lighting over the worktop, dimmable ambient light for entertaining and low-level illumination for night circulation. Select a uniform No. 4 brushed stainless finish when the island will take heavy use; high polish shows scratches and directional marks quickly.
Avoid abrasive cleaners and carbon-steel contact on either finish.
Build smart kitchen technology around replaceable parts. Provide accessible power, spare conduit and a removable equipment panel for future controls, charging points or appliance changes rather than sealing electronics into the cabinetry.
For accessible kitchen design, allow a 30-by-48-inch clear forward approach and keep an accessible work surface no higher than 34 inches above the finished floor. A lowered section also gives seated guests a practical place to plate, converse or prepare food.
A welded frame, continuous substrate or intermediate supports prevents long worktops from flexing, cracking seams or loosening appliance interfaces.
Frequently asked questions
How do you test whether a room can accommodate a kitchen island?
Tape the island footprint on the finished floor, including worktop overhangs, then test circulation with doors, drawers and appliances open.
How do you choose the right island shape and dimensions?
Define the island’s primary job, measure usable clearances and divide the surface into preparation, cooking, serving and seating zones.
What should you resolve before installing appliances in an island kitchen?
Plan appliance positions, extraction routes, task lighting, socket locations and electrical protection before fabrication and installation.
Which details create a durable luxury finish?
Choose hard-wearing worktops, precise edge details, hygienic surfaces, sealed joints, strong hardware and storage that remains accessible during service.
Related products
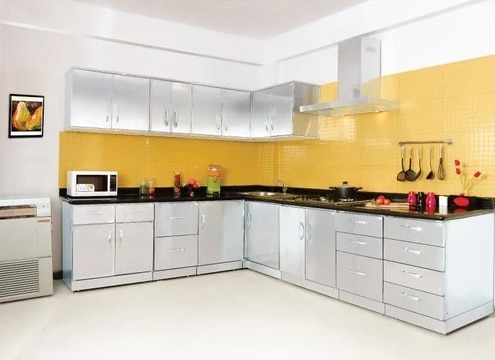 | Residential Stainless Steel Modular Kitchen Residential Stainless Steel Modular Kitchen The residential stainless steel modular kitchen is thoughtfully designed to meet the needs of contemporary homes. View product → |
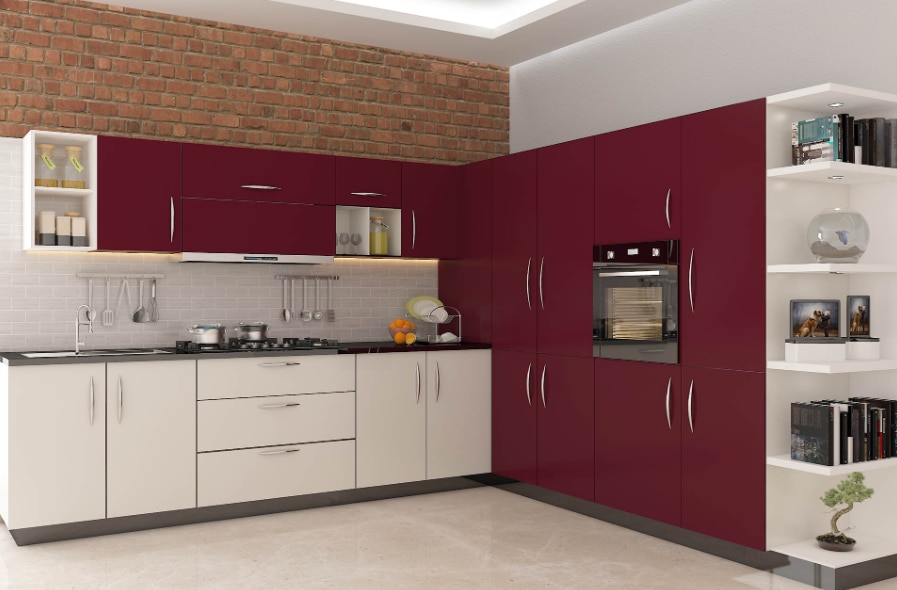 | SS Modular Kitchen The residential stainless steel modular kitchen is thoughtfully designed to meet the needs of contemporary homes. View product → |
 | Ss Island Modular Kitchen View product → |