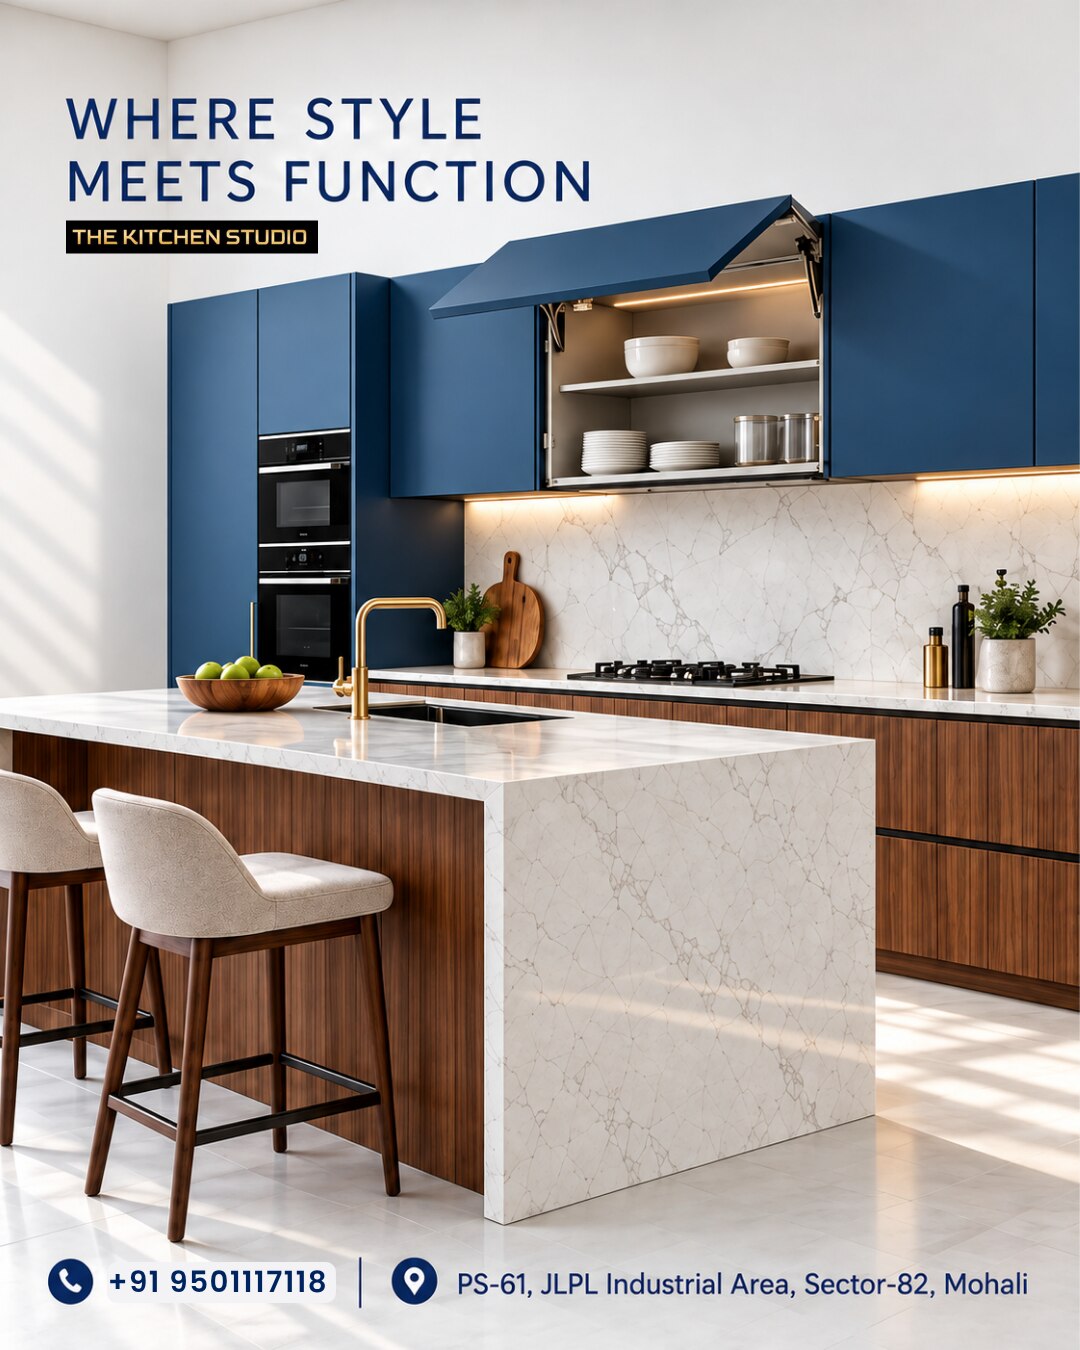
A kitchen becomes cluttered when storage, appliances and work surfaces do not follow the way food moves through the room. By mapping tasks, measuring clearances and assigning every item a point-of-use home, you can create a modular plan that is easier to use, clean and adapt.
Key takeaways
- Place storage near the task where you use each item.
- Keep raw, cooked and dirty workflows from crossing.
- Measure clearances before choosing an island or overhead cabinet.
- Leave utility access panels for plumbing, wiring and equipment repairs.
Start With Work Zones, Not Cabinet Styles
An organized kitchen is one where each task has a clear location, tools stay near the point of use, and ingredients move forward without crossing dirty or completed work. A clutter-free cooking space is not defined by empty counters alone; it prevents backtracking, searching and contact between raw and ready-to-eat food.
Map your kitchen work zones in the order work actually happens:
- Receiving and storage: accept deliveries, check stock and place dry, chilled or frozen goods.
- Preparation zone: wash, trim, cut and portion raw ingredients with knives, boards and small tools within reach.
- Cooking zone: keep pans, utensils, spices and heat-safe equipment beside the cooking line.
- Washing zone: place the sink, pot-wash tools, cleaning supplies and drainage where dirty items leave the workflow.
- Assembly and service: position cooked-food plating, packaging and serviceware near dispatch, away from raw-food handling.
Keep raw-food receiving and preparation separate from cooked-food assembly and service, or protect them with distance and barriers. The Food Code requires this separation to prevent cross-contamination.
Trace one meal from delivery to dispatch, then mark every unnecessary step, blocked turn and item left on the counter. Store knives and tools at the preparation zone, pans beside cooking equipment, and packaging near service rather than concentrating everything in one island.
Size pull-out waste and recycling modules to the actual bins; place them near preparation and pot-wash, but not directly beneath clean-food preparation. Use removable washable bins and a cleanable cabinet base.
Measure the Room and Select the Right Layout
Measure the room before choosing a modular kitchen layout. Record the finished wall-to-wall length and width, ceiling height, door swings, window sills, columns, floor drains, and every water, waste, gas, electrical and ventilation point. Include appliance dimensions and the space needed to open oven doors, refrigerators and dishwasher racks.
Check these measurements on site:
- Keep at least 36 inches for a clear passage; allow 42 inches between counters for one cook and 48 inches where two people work opposite each other.
- Mark the U-shaped kitchen boundaries and dimensions, including the corner depth and the gap between facing runs.
- Reserve service access behind equipment and avoid placing a sink, cooker or refrigerator where a door blocks the main route.
- Confirm that an island leaves 42 inches around working sides, not merely enough space to walk past it.
| Layout | Best fit | Measurement and clearance check |
|---|---|---|
| One-wall | Narrow rooms or compact service lines | Fit all modules on one run without reducing the 36-inch passage. |
| Galley | Two parallel walls | Keep 42 to 48 inches between counters; check that opposite doors do not collide. |
| L-shaped kitchen | Open corners and separate work areas | Measure both legs, corner cabinet depth and the route between preparation and cooking. |
| U-shaped kitchen | Dedicated, enclosed work zone | Check the U-shaped kitchen boundaries and dimensions carefully; a narrow centre aisle becomes congested. |
| Island layout | Large rooms needing extra preparation or service space | Add the island, stools and appliance-door swings before confirming the remaining circulation width. |
Assign Storage by Frequency, Weight and Point of Use
Store what you reach for every service between knee and shoulder height, with the heaviest items low and the least-used items high. This simple rule reduces bending, lifting and ladder use while keeping counters clear.
Use this point-of-use map:
- Cookware: place pots and pans in deep drawers directly below or beside the cooktop. Add vertical dividers for trays, lids and boards.
- Knives: keep knives and small preparation tools in a drawer organiser or wall-mounted rail beside the preparation bench, not loose on the counter.
- Spices: use a shallow drawer or narrow pull-out beside the cooking zone so labels face forward.
- Dry goods: group sealed staples in a pull-out pantry near preparation, using containers that support FIFO rotation. Store heavy sacks on lower shelves.
- Appliances: keep daily-use appliances in an appliance garage or lift-up bay near their outlets; move occasional-use machines to high storage.
- Cleaning supplies: store chemicals in a labelled, leak-resistant compartment below or beside the sink, separated from food and packaging.
- Waste and recycling: size removable, washable bins to your actual containers and position them near preparation and pot-wash areas, never directly beneath clean-food preparation.
Corner pull-outs can reclaim awkward space, but do not fill them with daily essentials if access is slow. Choose cleanable cabinet bases and removable bins; extra sorting compartments are useless when spills become difficult to remove.
Build Smart Modules Around Utilities, Hygiene and Service Access
A commercial modular kitchen is practical only when every module has a service route, not merely a finished exterior. Require a utility drawing showing coordinated utility points for water, waste, gas, electrical isolation, ventilation and access panels. You should be able to replace a fryer or refrigerator without opening finished walls or dismantling neighbouring benches.
Ask the fabricator to document these details before installation:
- Isolation valves and electrical disconnects remain reachable without moving fixed equipment.
- Flexible gas, water and electrical connections suit the equipment’s movement range; unprotected connections make a wheeled island hazardous.
- Locking casters, a defined movement procedure and enough hose slack support deep cleaning without stressing services.
- Pull-out waste and recycling bins match the actual container dimensions and sit near preparation and pot-wash areas, but not beneath clean-food preparation.
- Removable bins and a washable, sealed cabinet base control leakage better than adding extra sorting compartments.
Keep raw-food receiving and preparation separate from cooked-food assembly and service. This physical separation protects ready-to-eat food from cross-contamination.
A handwashing sink must be convenient, clearly identified and used only for handwashing; it cannot replace three-compartment sink requirements for washing, rinsing and sanitising equipment. Install floor equipment on legs with at least 6 inches of cleaning clearance, or seal it to the floor; table-mounted equipment needs 4 inches unless sealed or designed for cleaning.
The Kitchen Studio can make these clearances and access panels part of the fabrication drawing rather than leaving them to site improvisation.
Related products
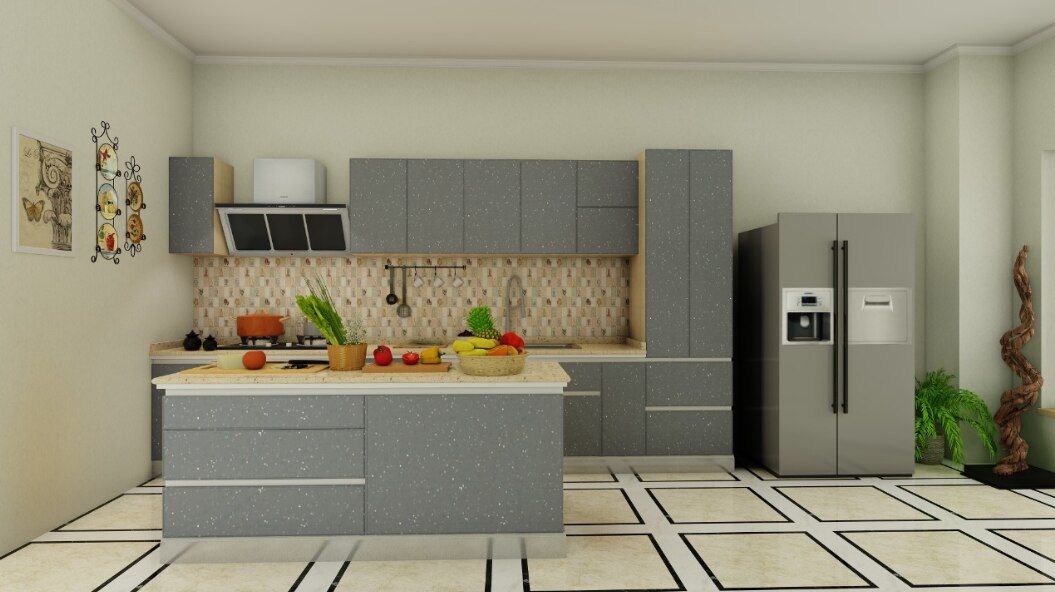 | Modern Stainless Steel Modular Kitchen Modern Stainless Steel Modular Kitchen The modern stainless steel modular kitchen is designed to combine contemporary aesthetics with superior durability and hygiene. View product → |
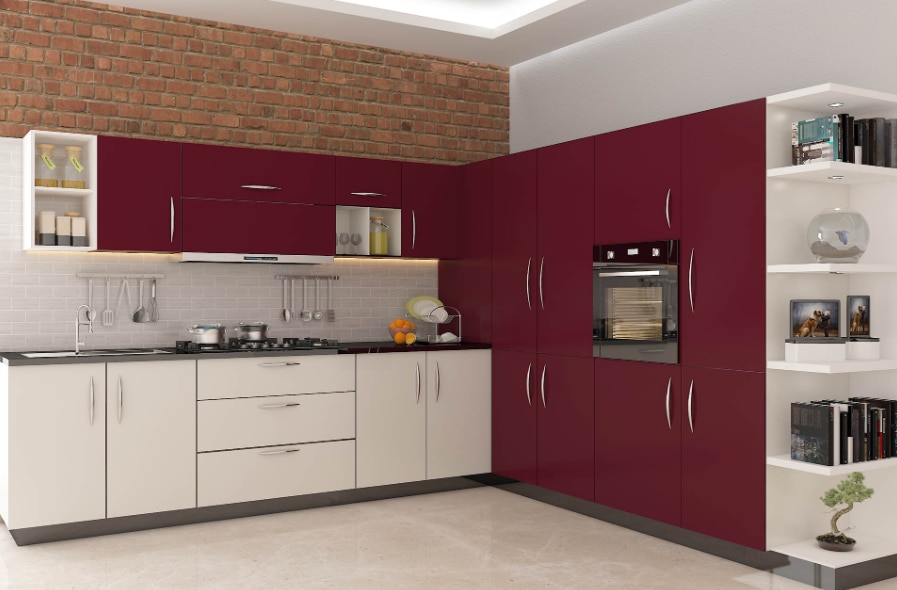 | SS Modular Kitchen The residential stainless steel modular kitchen is thoughtfully designed to meet the needs of contemporary homes. View product → |
Use Islands and Overhead Storage Only When They Improve Movement
An island earns its footprint when it shortens the trip between preparation, cooking and serving without narrowing the working route. Keep kitchen island clearance at least 42 inches between opposing work surfaces for one cook, and 48 inches where two people work face to face.
A 36-inch passage suits walking, but not a busy preparation aisle. If doors, drawers or appliance handles collide, remove the island before it becomes a permanent obstacle.
Use the island for point-of-use storage, not a warehouse. Deep drawers below a preparation surface can hold the tools used there, while wall-mounted rails keep small items accessible without covering the counter.
An island with unused stools wastes valuable circulation space; remove seating when nobody can sit comfortably without blocking the main route or opening a dishwasher.
Overhead kitchen storage works for lightweight, infrequently used items that you can retrieve safely from floor level. Keep daily ingredients and heavy cookware between roughly knee and shoulder height; lifting a cast-iron pan from above your head invites dropped loads and repeated ladder use.
Never place cabinets where they interfere with hood capture, fire-suppression coverage, filter removal or control access. A mobile island also needs locking casters, flexible protected connections and reachable isolation valves; rigid plumbing or an exposed gas line makes movement unsafe, not smart.
Frequently asked questions
How do you organize a modular kitchen around work zones?
Separate receiving, storage, preparation, cooking, plating and washing zones, then place tools and ingredients beside the task where you use them.
How do you choose the right modular kitchen layout?
Measure walls, doors, windows, plumbing and appliance locations first. Choose a single-wall, galley, L-shaped or U-shaped layout that preserves clear movement between work zones.
Where should kitchen storage be assigned?
Store frequently used items at hand height near their point of use, heavier equipment in low cabinets, and occasional items in higher or less accessible storage.
When does a kitchen island improve movement?
Add an island only when it leaves sufficient clearance around doors, appliances and work areas. Use it for preparation, storage or service rather than filling unused floor space.
Related products
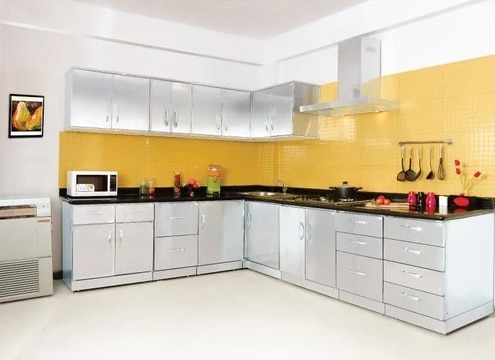 | Residential Stainless Steel Modular Kitchen Residential Stainless Steel Modular Kitchen The residential stainless steel modular kitchen is thoughtfully designed to meet the needs of contemporary homes. View product → |
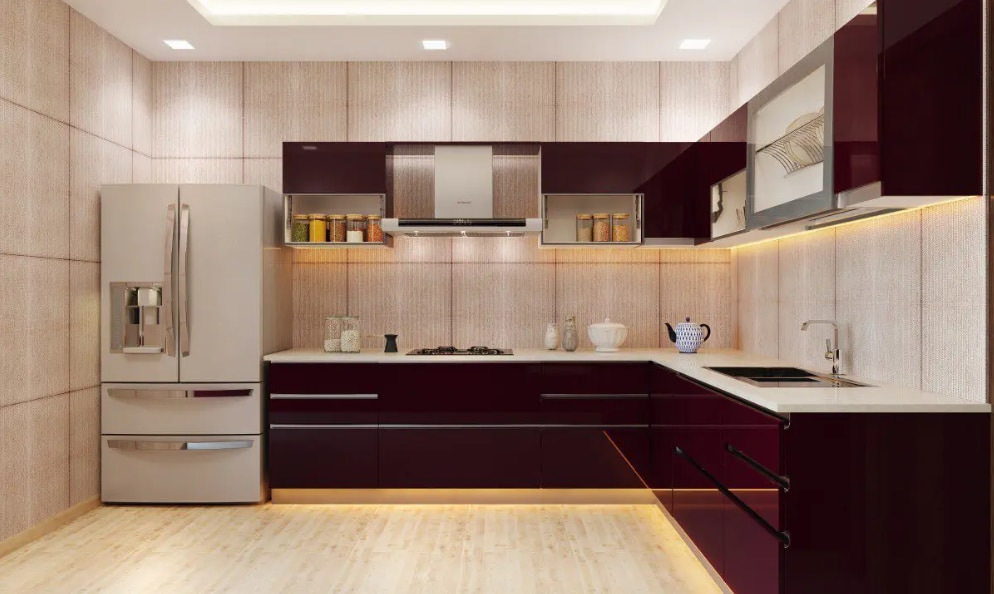 | Stainless Steel Kitchen The residential stainless steel modular kitchen is thoughtfully designed to meet the needs of contemporary homes. View product → |
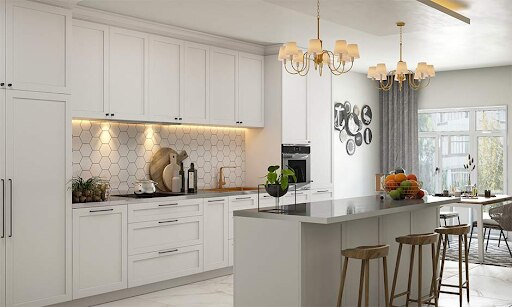 | Ss Island Modular Kitchen View product → |