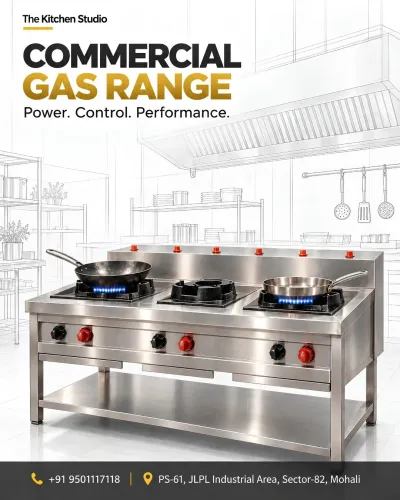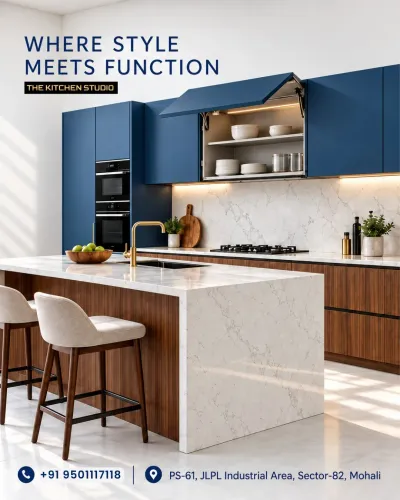
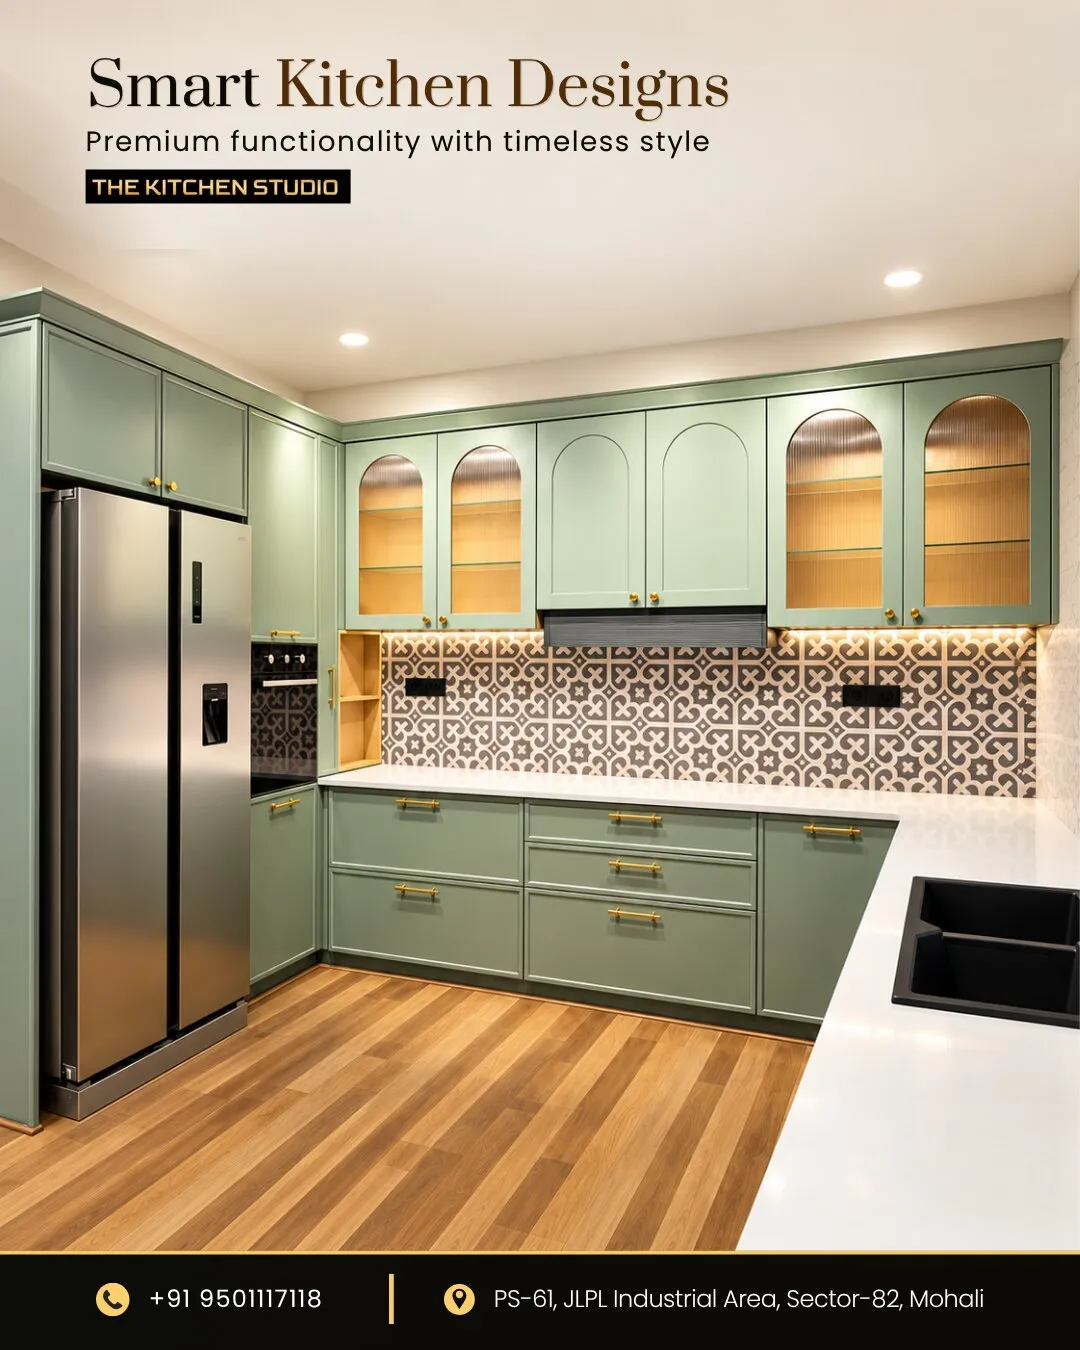
A kitchen becomes inconvenient when ingredients, tools, appliances and waste sit in the wrong places, forcing you to backtrack, unload cabinets or work around blocked doors. By mapping real tasks, assigning storage by frequency and testing clearances before installation, you can choose a layout that makes daily cooking faster and safer in a home or professional kitchen.
Key takeaways
- Map receiving, preparation, cooking, serving, cleaning and waste routes before choosing cabinets.
- Store frequently used items at the point of use and within easy reach.
- Specify pull-outs, adjustable shelves and drawer sizes around your actual equipment.
- Check aisle clearances, food-safe surfaces and utility connections before fabrication.
Design the Kitchen Around the Process, Not the Cabinet Count
A smart kitchen layout follows the route food and people take, not the number of cabinets you can fill. Connect each storage zone to the next task, keeping receiving, preparation, cooking, serving, cleaning and waste movements short and separate. That is the core of an efficient kitchen workflow.
- Put receiving beside dry and cold storage, so deliveries do not cross active cooking or serving paths.
- Place the preparation zone between storage and cooking. Keep raw-animal-food preparation separate from ready-to-eat assembly to reduce cross-contamination.
- Link cooking directly to the pass or dining handoff, with frequently used pans, utensils and ingredients within one step of the cook.
- Put warewashing near the return path from service, but keep clean equipment storage away from dirty returns and waste.
- Give waste a direct route out without sending bins through food preparation or plated-food areas.
A good layout also respects capacity and access. Choose refrigerator shelving for the actual loading pattern, with clear airflow and space to retrieve older items first; cold-held food must stay at 41°F (5°C) or below.
Keep dry food and single-use articles at least 6 inches (15 cm) above the floor, and protect main routes with adequate clearance rather than squeezing in another cabinet.
Place Every Item According to How Often and Where You Use It
Put each item at the point where you use it and at a height that matches its frequency of use. This storage hierarchy keeps daily tasks compact: counter-level storage holds items used throughout each shift, waist-to-eye-level storage holds regular-use supplies, and high or deep cabinets hold occasional equipment.
- Ingredients: Keep frequently used oils, spices and dry goods beside the preparation surface. Use pull-out pantry units for heavier or less frequently used provisions, and separate raw-food storage from ready-to-eat ingredients. Store food and single-use articles at least 6 inches (15 cm) above the floor.
- Cookware: Place pans, pots and lids between the preparation and cooking areas, preferably in full-extension drawers or shelves that do not require crouching. Keep the heaviest pieces below waist height to prevent lifting injuries.
- Utensils: Store knives, tongs, ladles and spatulas in drawer organisers or shallow drawers beside the task surface, not across the room near general storage.
- Appliances: Leave daily appliances at counter level or in an appliance garage with a nearby outlet. Put occasional appliances in a cabinet close to the task they support; avoid moving them around hot equipment.
- Waste: Position bin pull-outs beside preparation and warewashing points, but outside the main walking route. A separate recycling or food-waste bin prevents repeated sorting trips.
Place refrigeration under a prep counter only after checking the unit’s door swing, ventilation, service access and electrical requirements. Load cold storage so shelves remain reachable and air can circulate; crowded cabinets recover temperature slowly.
Choose Cabinet Features That Remove Friction From Daily Tasks
Breakfast and packed lunches become faster when the items you reach most sit in drawers that open fully, not on shelves blocked by the cabinet frame. Choose storage that exposes the entire contents, supports one-handed access and keeps preparation tools beside the task.
| Feature | Best use | Friction removed |
|---|---|---|
| Full-extension drawers | Plates, pans, lunch containers and everyday utensils | No reaching over front items or kneeling to search |
| Soft-close hardware | Frequently used drawers and doors | Prevents slamming, shifting contents and premature wear |
| Pull-out pantry units | Cans, packets, oils and dry ingredients | Brings narrow, deep storage into view during grocery unloading |
| Corner carousels | Bowls, small appliances and cookware | Turns a difficult corner into reachable storage |
| Vertical tray dividers | Baking sheets, chopping boards and serving trays | Keeps flat items upright and easy to remove |
| Drawer organisers | Cutlery, measuring tools and prep utensils | Stops tools from becoming a mixed pile |
| Bin pull-outs | Waste and recycling near preparation or cleanup | Conceals containers while shortening disposal steps |
Use separate, labelled sections for raw ingredients and ready-to-eat food. For refrigerated ready-to-eat food held more than 24 hours, labels need the preparation or opening date; the FDA Food Code counts that day as Day 1 and allows up to seven days at 41°F (5°C) or below.
A shelf layout that exposes the oldest container supports FIFO rotation without unloading the cabinet.
Keep appliance garages for items used daily, not heavy equipment that requires awkward lifting. Place frequently opened drawers between waist and eye level, and keep dry food at least 6 inches (15 cm) above the floor so cleaning and compliance do not conflict.
Check Clearances, Food Safety and Equipment Connections Before Installation
Usable storage depends on the clear space around it, not its advertised capacity. Measure aisle clearance with doors, drawers and the largest appliance open; an accessible route is generally at least 36 inches wide, while a wheelchair turning space is generally 60 inches in diameter. Confirm local building, fire, health and accessibility rules before fabrication.
| Check | What to measure or confirm | What goes wrong if missed |
|---|---|---|
| Aisle clearance | Door swings, open drawer fronts and passing space | Traffic blocks refrigeration, cooking or escape routes |
| Worktop height | Final height against the main user’s reach and equipment controls | Repetitive prep becomes uncomfortable, and small appliances sit below usable eye level |
| Cabinet depth | Interior depth after hinges, plumbing and shelf hardware | Items disappear at the back or collide with pipes |
| Drawer opening space | Full extension plus the standing and passing area in front | A drawer cannot open during service without blocking an aisle |
| Food storage | Dry goods at least 6 inches above the floor; raw and ready-to-eat foods separated | Cleaning becomes difficult, and cross-contamination risk rises |
| Cold and hot holding | Thermometers visible; cold food at 41°F or below and hot food at 135°F or above | Blocked airflow or slow transfer leaves food outside its safe holding range |
Before closing walls or fixing cabinets, verify:
- Dedicated electrical circuits, outlet locations and equipment loads
- Water supply, drainage, shutoff access and required air gaps
- Gas line size, isolation valve and ventilation clearances
- Date-marking visibility for refrigerated ready-to-eat food held over 24 hours; use within seven days at 41°F or below, counting the preparation or opening day as Day 1
Test the Workflow Before You Commit to Fabrication
Before fabrication, map one complete task from delivery to waste, such as receiving vegetables, washing, chopping, cooking and plating. Mark each stop and draw the route between them; repeated lines expose backtracking, while lines crossing between staff expose cross-traffic.
Compare the map with the work triangle and with the wider kitchen work zones, because a tidy triangle can still leave the pass, sink or refrigerator in a traffic lane.
1. List the people, ingredients, tools and equipment used during a peak task. Include a second person carrying a hot pan, opening the refrigerator or removing waste.
2. Mark every stop on graph paper, then transfer the plan to the room at full scale. Use paper templates for cabinets, islands, doors, refrigerators, ovens and sink bowls.
3. Run a floor tape test using painter’s tape. Tape cabinet fronts, drawer swings, appliance doors, aisle edges and standing positions; walk the task at normal speed while another person simulates service traffic.
4. Record each failure: a door that blocks the only route, a worker who must turn around, a drawer that cannot open beside an appliance, or a trolley that cannot reach storage. Move the tape and retest before approving dimensions.
Keep the tape layout in place through a busy rehearsal, not just a quiet walkthrough. Give The Kitchen Studio the marked plan and failure notes so fabrication addresses real movement rather than an attractive drawing.
Do not fix congestion by making one oversized sink serve every task; separate handwashing, food preparation and warewashing routes when the map shows cross-use risk.
Related products
 | Modern Stainless Steel Modular Kitchen Modern Stainless Steel Modular Kitchen The modern stainless steel modular kitchen is designed to combine contemporary aesthetics with superior durability and hygiene. View product → |
 | Stainless Steel Kitchen The residential stainless steel modular kitchen is thoughtfully designed to meet the needs of contemporary homes. View product → |
Frequently asked questions
Why should you design a kitchen around the process instead of cabinet count?
A process-led layout shortens movement between receiving, preparation, cooking, serving, cleaning and waste while keeping people and materials from crossing unnecessarily.
Where should you place kitchen items for faster daily work?
Keep each item near the task where you use it, with frequently used tools at reachable heights and rarely used equipment in less accessible storage.
Which cabinet features reduce friction during cooking?
Pull-out shelves, deep drawers, adjustable shelving, dedicated waste compartments and storage sized for your containers make retrieval and cleanup easier.
What should you check before installing a kitchen?
Verify aisle and work-zone clearances, food-safe finishes, ventilation, drainage, water supply, electrical points, gas connections and equipment dimensions.
How can you test a kitchen workflow before fabrication?
Mark the proposed counters, appliances and storage on the floor, then simulate receiving, preparation, cooking, serving and cleaning with the equipment you use.
Related products
 | SS Modular Kitchen The residential stainless steel modular kitchen is thoughtfully designed to meet the needs of contemporary homes. View product → |
 | Residential Stainless Steel Modular Kitchen Residential Stainless Steel Modular Kitchen The residential stainless steel modular kitchen is thoughtfully designed to meet the needs of contemporary homes. View product → |
 | Stainless Steel Work Table With Over Shelf Stainless Steel Work Table With Over Shelf The stainless steel work table with over shelf is designed to enhance efficiency and organization in commercial and professional kitchens. View product → |
 | Stainless Steel Top Shelf Work Table Stainless Steel Top Shelf Work Table The stainless steel top shelf work table is designed to improve efficiency and organization in commercial kitchen environments. View product → |