The wrong sink creates bottlenecks: bowls cannot hold the largest stockpot, drainboards disappear under clean trays, and handwashing gets mixed into food or dishwashing tasks. Use your peak-service vessels, workflow, plumbing constraints, and local code requirements to specify the right sink count, dimensions, construction, and placement before fabrication.
Key takeaways
- Choose compartments around the work and largest vessel, not sink length.
- Install dedicated sinks for handwashing, warewashing, preparation, and pot washing.
- Measure bowls, clearances, plumbing, doorways, and every vessel before ordering.
- Place sinks to reduce carrying distance while protecting clean equipment and food zones.
Choose the compartment count from the work, not the sink’s overall length
A three-compartment sink is the baseline for sequential washing, rinsing, and sanitizing of reusable utensils and equipment. Choose the bowls around your largest vessel, not the total sink length: a short, deep stockpot must sit fully below the waterline, or the compartment count will not deliver the intended process.
| Option | What it means | When it applies |
|---|---|---|
| 1-compartment sink | One basin for one task at a time | Use for dedicated preparation, bar work, or limited pot washing; it cannot provide a wash-rinse-sanitize sequence by itself. |
| 2-compartment sink | Two basins for washing and rinsing | Suits a defined task when sanitizing has another approved step or when space and workload are limited; it is not equivalent to a three-compartment sink. |
| 3-compartment sink | Separate wash, rinse, and sanitizing basins | The right starting point for routine manual warewashing, provided every bowl fits the largest item and the operating procedure uses all three. |
| 4-compartment sink | Three process stages plus one additional basin | Choose it for soaking, pre-rinsing, heavy pot washing, or separating a chemical-sanitizing step from another required task. |
Do not count a handwashing sink, food-preparation sink, mop sink, or bar sink as one of the warewashing compartments. Keep handwashing dedicated and accessible, and give produce or raw-food preparation its own suitable basin when that work would conflict with clean-ware flow. A larger sink with fewer useful compartments is the wrong purchase.
Separate warewashing, handwashing, preparation, and pot washing
A single sink fails when staff must wash hands, rinse produce, clean utensils, and soak greasy pans at the same time. Those tasks compete for bowl space and create cross-contamination risk; dirty pan residue can reach hands or ready-to-eat food.
Give handwashing its own accessible fixture, never inside a dishwashing run or as a dumping or preparation sink.
| Task | Dedicated sink | Why separation matters |
|---|---|---|
| Handwashing | Hand-washing sink | It is reserved for hands and must remain accessible during service. |
| Warewashing | Three-compartment sink | Separate bowls support washing, rinsing, and sanitizing utensils and equipment. |
| Food preparation | Prep sink | Produce and preparation work need adequate capacity and indirect drainage. |
| Large cookware | Pot sink | Deep, wide vessels need space that a standard bowl often cannot provide. |
A three-compartment sink is not automatically adequate. Each compartment must immerse the largest item you clean; three undersized bowls create a bottleneck even when the nominal count is correct. Add a pot sink when stockpots, roasting pans, or greasy equipment cannot fit without blocking the wash sequence.
Keep the prep sink and warewashing sink on the required air gap or air-break drainage arrangement, not a direct sewer connection. Check the adopted plumbing code and local health department before fabrication, because a manufacturer’s standard layout may not meet your jurisdiction’s rules.
Measure the complete installation and the vessels you wash
Record the sink’s full footprint, service clearances, and the largest vessels you will wash before comparing models. A bowl that fits the catalogue dimensions can still block a wall, miss the drain connection, or leave a stockpot impossible to rinse.
1. Measure the available length and front-to-back depth, including space for drainboards, splashback, legs, wall clearance, and plumbing access. Record the finished working height, underside height, and undershelf clearance so doors, bins, and cleaning equipment will fit.
2. Record the bowl dimensions for every compartment: internal length, front-to-back width, and bowl depth. Measure your largest stockpot, sheet pan, tray, and utensil container, then allow room to turn each item under the faucet. Greater depth contains splashes but increases reach distance, water volume, and strain.
3. Measure the drainboard length you can spare and match it to the largest items staged there. A short drainboard pushes clean vessels onto dirty counters; an oversized one consumes preparation or refrigeration space. Record whether the board sits on the left, right, or both sides to match the workflow.
4. Mark the faucet centre, wall, and drain position, then check faucet height and outlet reach against the bowl corners. Confirm the wall can support a wall-mounted sink; for a leg-mounted model, measure floor slope, adjustable-foot range, and cleaning access.
Ask the local authority to verify required clearances before fabrication, since the FDA Food Code does not set one universal bowl size or backsplash height.
Compare construction details that determine cleanability and service life
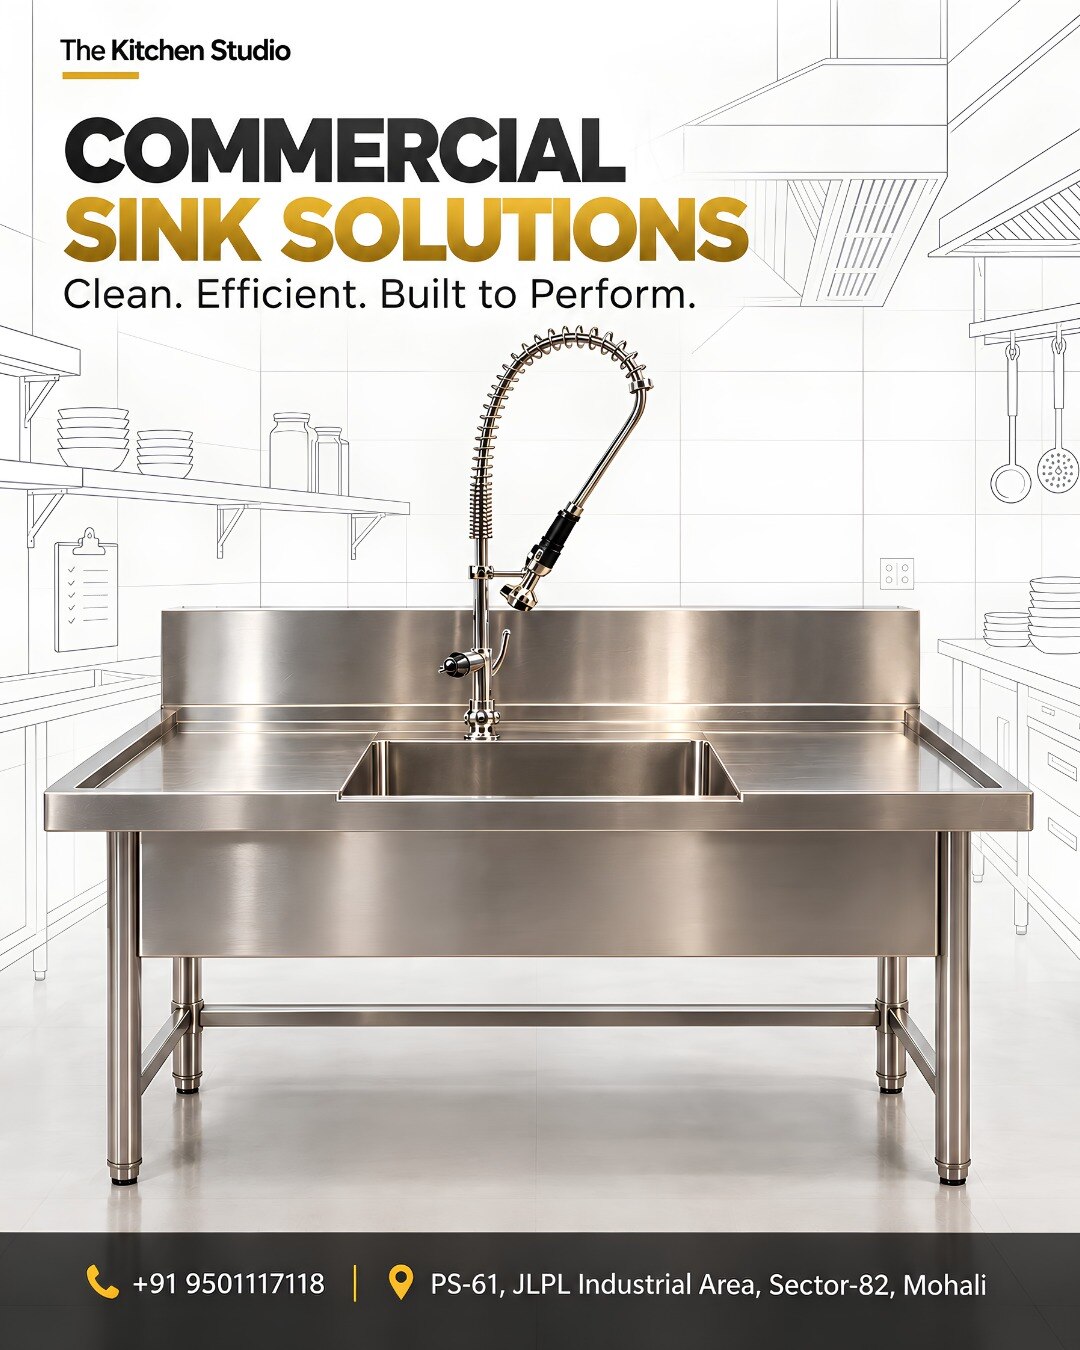
A thick bowl can still fail early if its legs flex, welds trap soil, or the drain leaves water standing. Compare the complete construction, not stainless steel gauge alone; ask for actual nominal thickness because gauge conventions vary between materials and manufacturers.
| Detail | What to compare | Why it matters |
|---|---|---|
| Material | 304 stainless steel for standard service; 316 stainless steel where chlorides, coastal air, bleach, or aggressive cleaners are frequent | 316 resists chloride pitting better, but still needs rinsing and drying |
| Finish and welds | Uniform brushed or polished surfaces, radiused corners, fully finished welds, and passivation after fabrication | Passivation removes free iron; it is not electropolishing. Discoloration and rough seams can hold soil and corrode |
| Drainage | Reinforced drain opening, positive bowl slope, accessible strainer, and no ledges around the waste outlet | Poor drainage leaves standing water and concentrates chemicals at the bowl bottom |
| Mounting | Welded leg frames, rigid cross-bracing, adjustable feet, wall support, and a substrate strong enough for a full load | Flexing transfers stress into welds, plumbing, and splashbacks |
| Compliance | NSF/ANSI 2 equipment certification and, where specified, NSF/ANSI 51 materials and finishes | Certification supports review but does not replace locally adopted plumbing, health, building, fire, or accessibility codes |
Inspect faucet penetrations and seams before purchase. They need smooth, sealed transitions without exposed crevices, while food-contact surfaces must be corrosion-resistant, nonabsorbent, smooth, and easily cleanable. A decorative finish alone proves none of that.
Place every sink to shorten carrying routes and protect clean zones
Keep the preparation sink between receiving and refrigeration on one side and the prep benches on the other. That shortens the route for produce and keeps raw deliveries out of the clean service path. Send used pans toward warewashing and waste without crossing the service pass.
| Sink or station | Place it in relation to nearby areas | What goes wrong if misplaced |
|---|---|---|
| Preparation sink | Near receiving, refrigeration, and preparation benches | Long routes encourage produce to be washed in a hand sink or on a cramped counter |
| Warewashing sink | Beside the dish return and waste point, separated from prep | Dirty plates and food scraps cross clean utensils or ingredients |
| Handwashing sink | On the direct path into prep and warewashing, visible and unobstructed | Staff skip it when it is hidden inside equipment or used for dumping |
| Pot-washing sink | Near cooking equipment and the dish area, with room for large vessels | Heavy, wet pots travel through the service pass |
| Service pass | Keep preparation and warewashing sinks behind it, not in the plate handoff route | Splash, queues, and dripping items disrupt dispatch |
Specify indirect drainage for preparation and warewashing sinks: the drain must discharge through the required air gap or air-break arrangement, not a prohibited direct sewer connection. Confirm the local plumbing code and health department rule before fabrication.
Review the commercial kitchen layout at working speed, not from an empty plan. The Kitchen Studio can use food-service equipment fabrication drawings to check door swings, wall clearance, drain locations, and whether a sink’s drainboard supports the direction of clean-to-dirty movement.
Frequently asked questions
How many compartments should a commercial kitchen sink have?
Choose the compartment count from the tasks performed. A three-compartment sink supports sequential washing, rinsing, and sanitizing, while separate handwashing, preparation, and pot-washing sinks prevent cross-use.
What should you measure before ordering a commercial kitchen sink?
Measure the available footprint, working clearances, doorway route, plumbing points, bowl dimensions, drain position, and the largest vessels you need to wash.
Which construction details affect a sink’s service life?
Compare stainless steel grade, sheet thickness, welded versus joined corners, rounded bowl interiors, adjustable legs, bracing, drains, splashbacks, and the ease of cleaning each surface.
Where should commercial kitchen sinks be placed?
Place each sink near the work it supports to shorten carrying routes, while keeping handwashing accessible and separating dirty ware, raw-food preparation, and clean-equipment zones.