A gas range can have the right number of burners and still fail because its fuel supply, extraction system, clearances, or service access were never matched to the site. By the end, you will have a practical checklist for sizing the cooking equipment, confirming the gas and ventilation design, requesting approval documents, and commissioning the installation safely.
Key takeaways
- Size burners for simultaneous peak demand, not the catalogue burner count.
- Verify fuel type, gas pressure, total input and recovery during peak use.
- Coordinate extraction, replacement air, clearances and fire suppression before delivery.
- Request manuals, gas drawings, service access details and commissioning records.
Match burner capacity to the menu and peak service
Choose the cooking system by simultaneous peak demand, not by the number of burners on the catalogue page. Record each menu item’s pan diameter, batch volume, cooking time, recovery time, and portions produced during the busiest 15-minute service period.
- Stockpot boiling
- Sautéing
- Simmering
- Holding
- Griddle or fryer work
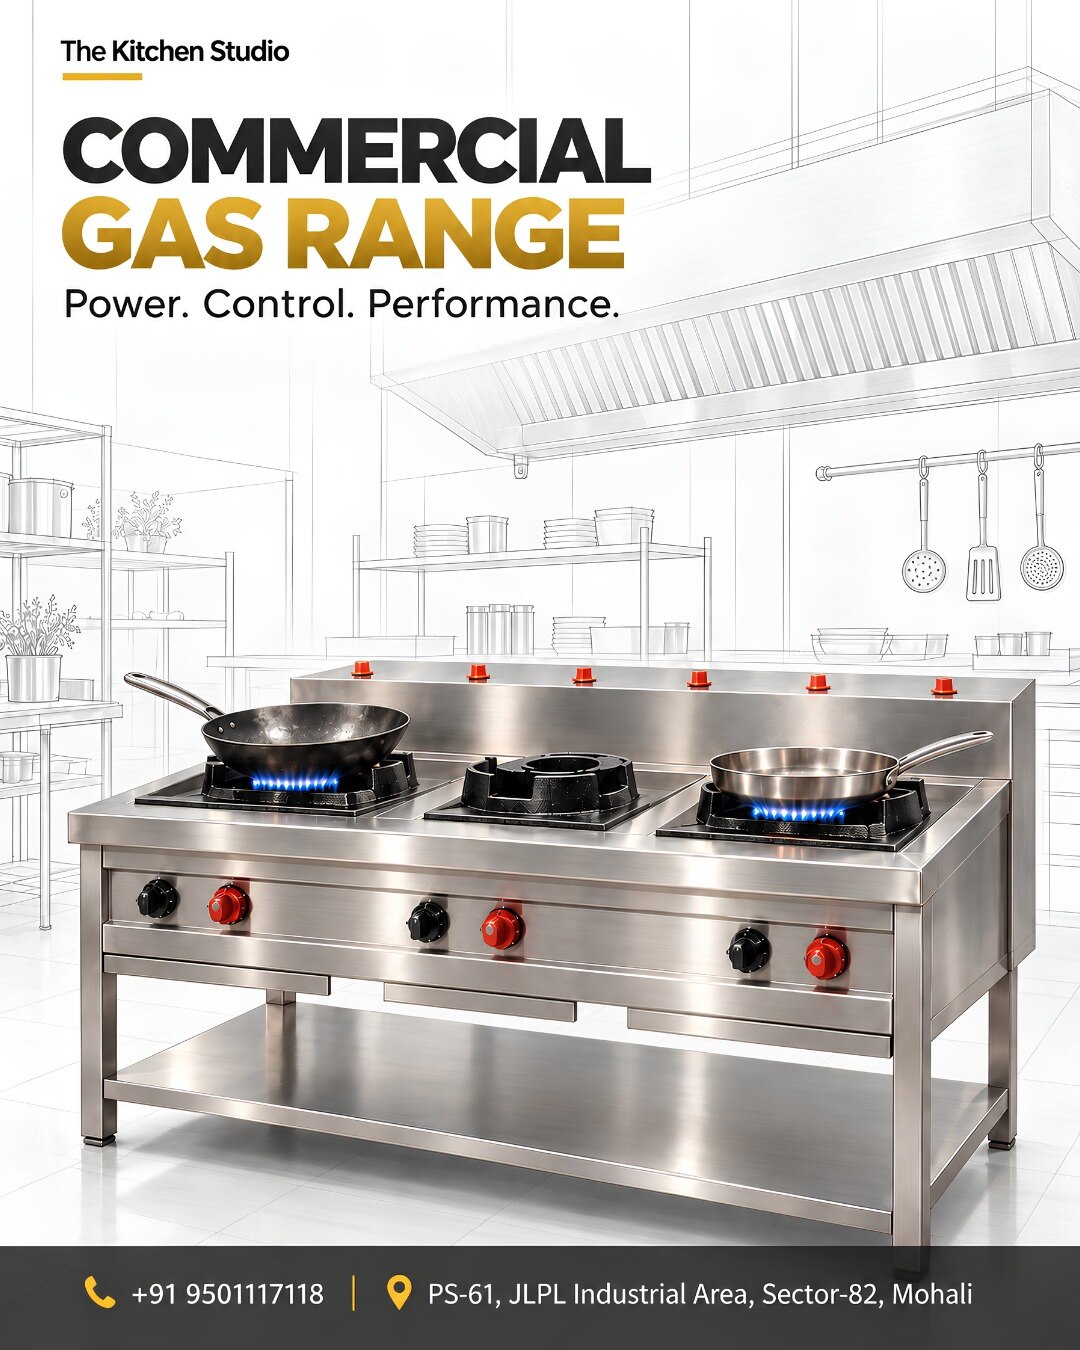
Map every task to a burner, then identify which tasks run together. Ask for each burner’s input in kW or BTU/h, total connected input, turndown range, and usable output; compare that capacity with the menu rather than adding burners that never operate simultaneously.
| Option | Strength | Limitation |
|---|---|---|
| Three-burner range | Fits a compact menu with limited concurrent pans | Stockpots and sauté pans can compete for space |
| Four-burner range | Handles more simultaneous tasks | Raises gas demand, hood duty, cleaning area, and service cost |
| Modular cooking suite | Combines burners with specialised stations | Needs more floor, service, and coordination space |
| Alternative equipment | Matches a stock-pot burner, griddle, induction unit, fryer, or oven to one task | Less flexible if the menu changes |
A three-burner range becomes a bottleneck when two large vessels and a finishing pan are needed together. A dedicated stock-pot burner suits large-volume boiling, while induction gives tighter low-temperature control.
Check grate dimensions, pan spacing, pot clearance, landing space, and whether two large vessels operate side by side. Request a layout using your actual pans and batch sizes, not only the catalogue footprint.
Confirm fuel, pressure, input, and simultaneous performance
1. Identify the site fuel as LPG versus PNG before ordering. Record the available inlet pressure, gas meter capacity, regulator capacity, manifold size, and pipe route. Ask the supplier to confirm that the range is factory-configured for that fuel and pressure.
2. Do not treat LPG and PNG models as interchangeable by changing the connector. If conversion is permitted, obtain the manufacturer’s approved conversion kit and procedure, including the correct orifices, regulator setting, burner checks, leak test, and documentation.
3. Size the gas service from total connected BTU/h gas input, not the range nameplate alone. Include the range, ovens, fryers, water heaters, existing appliances, and planned future equipment. The installer must calculate pipe material, developed length, fittings, inlet pressure, and the sizing method required by the locally adopted fuel-gas code.
An undersized branch can starve several appliances during service.
4. Request burner-by-burner input, total gas consumption, operating manifold pressure, turndown range, ignition method, and the site altitude range. Before acceptance, arrange a demonstration with every burner operating simultaneously, then test low-fire stability, cross-lighting, flame lift, yellow tips, recovery under load, and oven performance.
Confirm any approved high-altitude derating, including revised input, orifice, or regulator requirements, before finalizing capacity.
Design the location around extraction, air, and fire protection
A range can fail before gas is connected if the room cannot accept its clearances, exhaust, or service access. Use the installation manual’s clearance table for side, rear, flue, oven, shelf, and backsplash distances; stainless steel cladding does not make an adjacent wall combustible-safe.
1. Measure the delivery route, door widths, ceiling height, finished floor level, and floor loading at every leg or caster. Confirm that the equipment can reach its final position without removing doors or damaging the floor.
2. Reserve service space for removing burners, valves, igniters, thermostats, oven controls, filters, and rear connections. A tight fit can turn a routine repair into disconnection and removal of adjacent counters.
3. Classify the cooking duty before choosing extraction. Frying, grilling, broiling, and other grease-producing work require a Type I hood; heat and steam alone call for a Type II hood. Size it from duty, wall or island geometry, capture area, capture overhang, cross-drafts, and airflow—not range width alone.
Coordinate hood dimensions, grease filtration, make-up air quantity and discharge location, exhaust commissioning, and suppression coverage. Include the installed flue, shelves, salamanders, movable accessories, fuel shutoff, exhaust-fan interlock, and manual pull station in the suppression design. Adding equipment later can leave shadowed hazards outside nozzle coverage.
Inadequate make-up air can depressurize the kitchen, weaken capture, make doors difficult to open, disturb flames, and increase carbon-monoxide risk. Commission the hood and replacement-air system together with the range.
Request the documents, construction details, and service drawings
Do not approve the range or close the millwork until the supplier’s approval file and coordinated drawings are complete. Ask for these documents:
- The applicable BIS standard by number, plus the relevant test report, certificate, or listing document.
- Commercial gas-equipment certification for imported or dual-listed equipment, commonly ANSI Z83.11/CSA 1.8, and written confirmation that the local authority accepts it.
- Food-contact and cleanability information against NSF/ANSI 4 where the health authority applies that standard.
- LPG installation requirements, including installation instructions, regulator settings, approved connector details, leak-test procedure, and gas-supplier or PNG-authority requirements.
| Document | Confirm | Why it matters |
|---|---|---|
| Fire approval | Hood, suppression, fuel shutoff, exhaust commissioning, and approval route | Missing coordination can delay occupancy or leave protection incomplete |
| Service drawing | Connection locations, service clearances, removable panels, burner and valve access | Tight millwork can make routine repairs require disconnection |
| Electrical drawing | Voltage, phase, frequency, circuit protection, receptacle location, and interlock wiring | A gas range can still need power for ignition, controls, lights, proving switches, or ovens |
| Anchorage drawing | Legs, curb, restraint points, and cleanable joints | Fabrication must not block clearances, drain paths, or access panels |
For a mobile range, specify the complete listed caster system, flexible connector, accessible shutoff, and positive restraint; never use the connector as the tether. The Kitchen Studio can use approved drawings to align curbs, backsplashes, counters, and cleanable joints without hiding listed clearances or service access.
Related products
 | LPG Appliance Type A & B units are designed to meet industry safety standards and performance requirements for commercial and industrial kitchens. View product → |
 | Stainless Steel Burner Range The stainless steel burner range is designed for high-performance cooking in commercial and professional kitchens. View product → |
Commission every connected system before handover
1. Before connection, match the delivered model to the approved order and installation instructions. Check the fuel designation, orifice markings, regulator, serial number, required electrical supply, clearances, and approved conversion parts. Do not treat an LPG range as a natural-gas range, or vice versa, by changing only the connector.
2. Have a qualified installer complete a gas leak test and record inlet pressure, manifold pressure, regulator operation, and burner input. Check ignition, flame stability, low-fire operation, cross-lighting, and every burner operating simultaneously. Test the oven temperature against its control setting. A single successful ignition proves very little.
3. Test each safety function deliberately: pilots, igniters, flame-failure devices, thermostats, and other gas or electrical controls must shut down the appliance when their safety condition is interrupted. Run the hood and make-up-air system together, then verify airflow, capture and containment, combustion air, exhaust sequencing, gas shutoff, and the fire-suppression interlock.
4. Stop service and investigate soot, yellow flames, flame lift, unusual noise, headaches, or a carbon-monoxide alarm. Poor combustion is not fixed by casually adjusting the regulator; recheck fuel, pressure, orifices, combustion air, and installation. Repeat the assessment after adding a shelf, salamander, high-output burner, or movable accessory because extraction and suppression coverage can change.
5. Put gas pressures, test results, serial numbers, installer details, approvals, conversion records, and maintenance instructions in the handover file. Keep the installation instructions with it, so future service staff can distinguish an approved adjustment from an unsafe improvisation.
Frequently asked questions
How do you match a commercial gas range to a menu?
Record each menu item’s pan diameter, batch volume, cooking time, recovery time and portions during the busiest 15-minute service period. Use simultaneous peak demand to size the range rather than counting burners.
What gas specifications must you confirm before installation?
Confirm the fuel type, supply pressure, appliance input in kW or BTU/h, connection size and regulator requirements. Check that the supply supports every burner and oven operating together.
What must be planned around the range location?
Coordinate canopy extraction, replacement air, equipment clearances, wall finishes, access routes and fire protection. Confirm the fire-suppression system covers the cooking hazards and shuts off gas when activated.
Which documents should you request from the supplier?
Request the installation and operating manuals, gas approval information, data plate details, utility requirements, service drawings, clearances, maintenance schedule and spare-parts information.
What should commissioning cover before handover?
Test ignition, flame stability, burner performance, oven temperature, gas pressure, extraction airflow, replacement air, safety shut-offs and fire-suppression interlocks. Record the results and train operators before acceptance.